Ukulhas: The Local Paradise That Luxury Resorts Don’t Want You to Know About

Why Ukulhas Island Is the Best Budget-Friendly Destination in the Maldives for Snorkeling, Beaches, and Authentic Local Culture

Luxury resorts in the Maldives don’t want you to visit local islands, as you can experience the Maldives at a fraction of the cost.

Ukulhas is located in the Alif Alif Atoll (also known as North Ari Atoll) in the Maldives. It lies approximately 70 kilometers west of Malé, the capital city, and about 15 kilometers from Rasdhoo, the atoll’s capital

Ukulhas is a serene island paradise that offers a perfect blend of natural beauty, local culture, and eco-conscious tourism. Ukulhas is known for its laid-back charm, pristine beaches, and vibrant marine life — making it an ideal destination for travelers seeking both relaxation and adventure.

One of the island’s main attractions is Ukulhas Beach, a stunning stretch of powdery white sand and crystal clear waters. It’s perfect for sunbathing, swimming, and especially snorkeling, with colorful coral reefs and tropical fish just offshore.

In the Maldives, you need to dress modestly except on designated bikini beaches. Ukulhas has a bikini beach that stretches almost 0.6 miles (approximately 1 kilometer) along the western side of the island.

For diving enthusiasts, the Ukulhas Eco Dive Club offers sustainable diving experiences, including the chance to swim with manta rays, which can be seen year round — a rare treat in the Maldives.

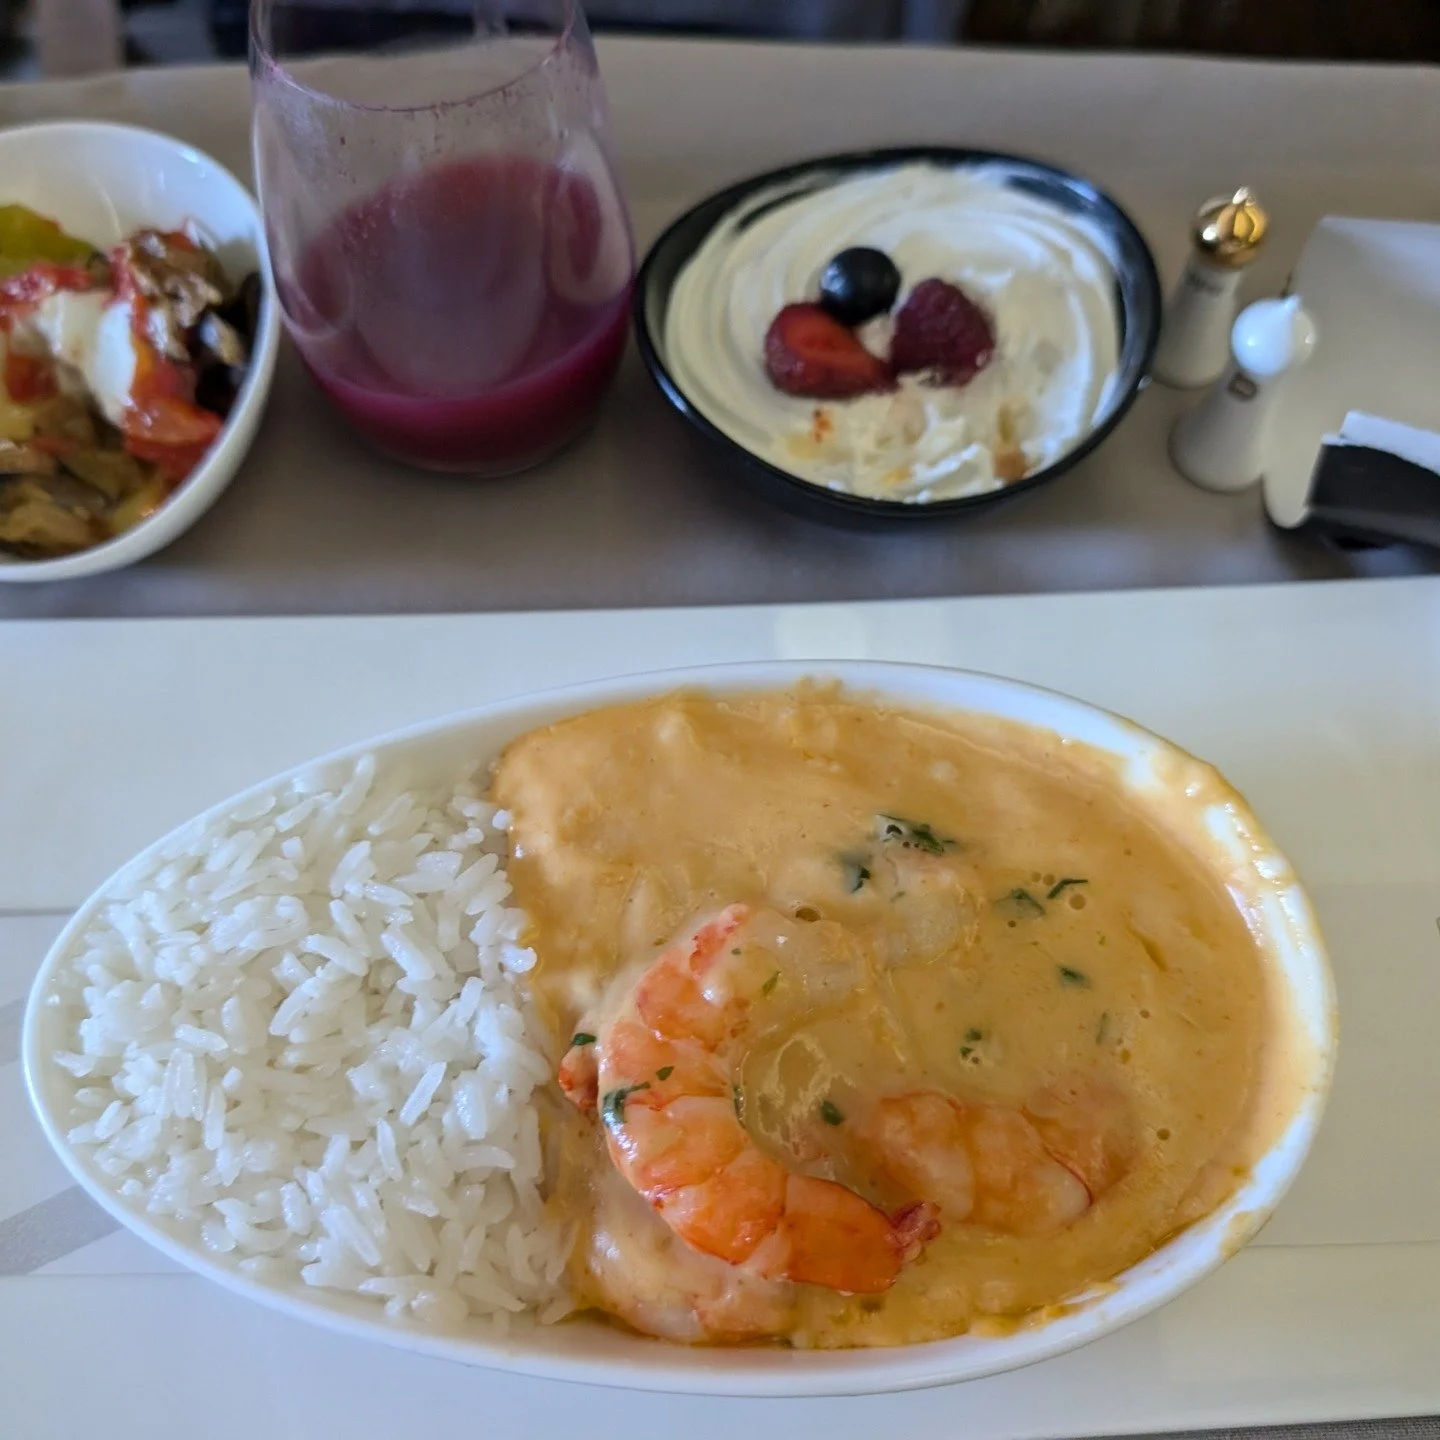
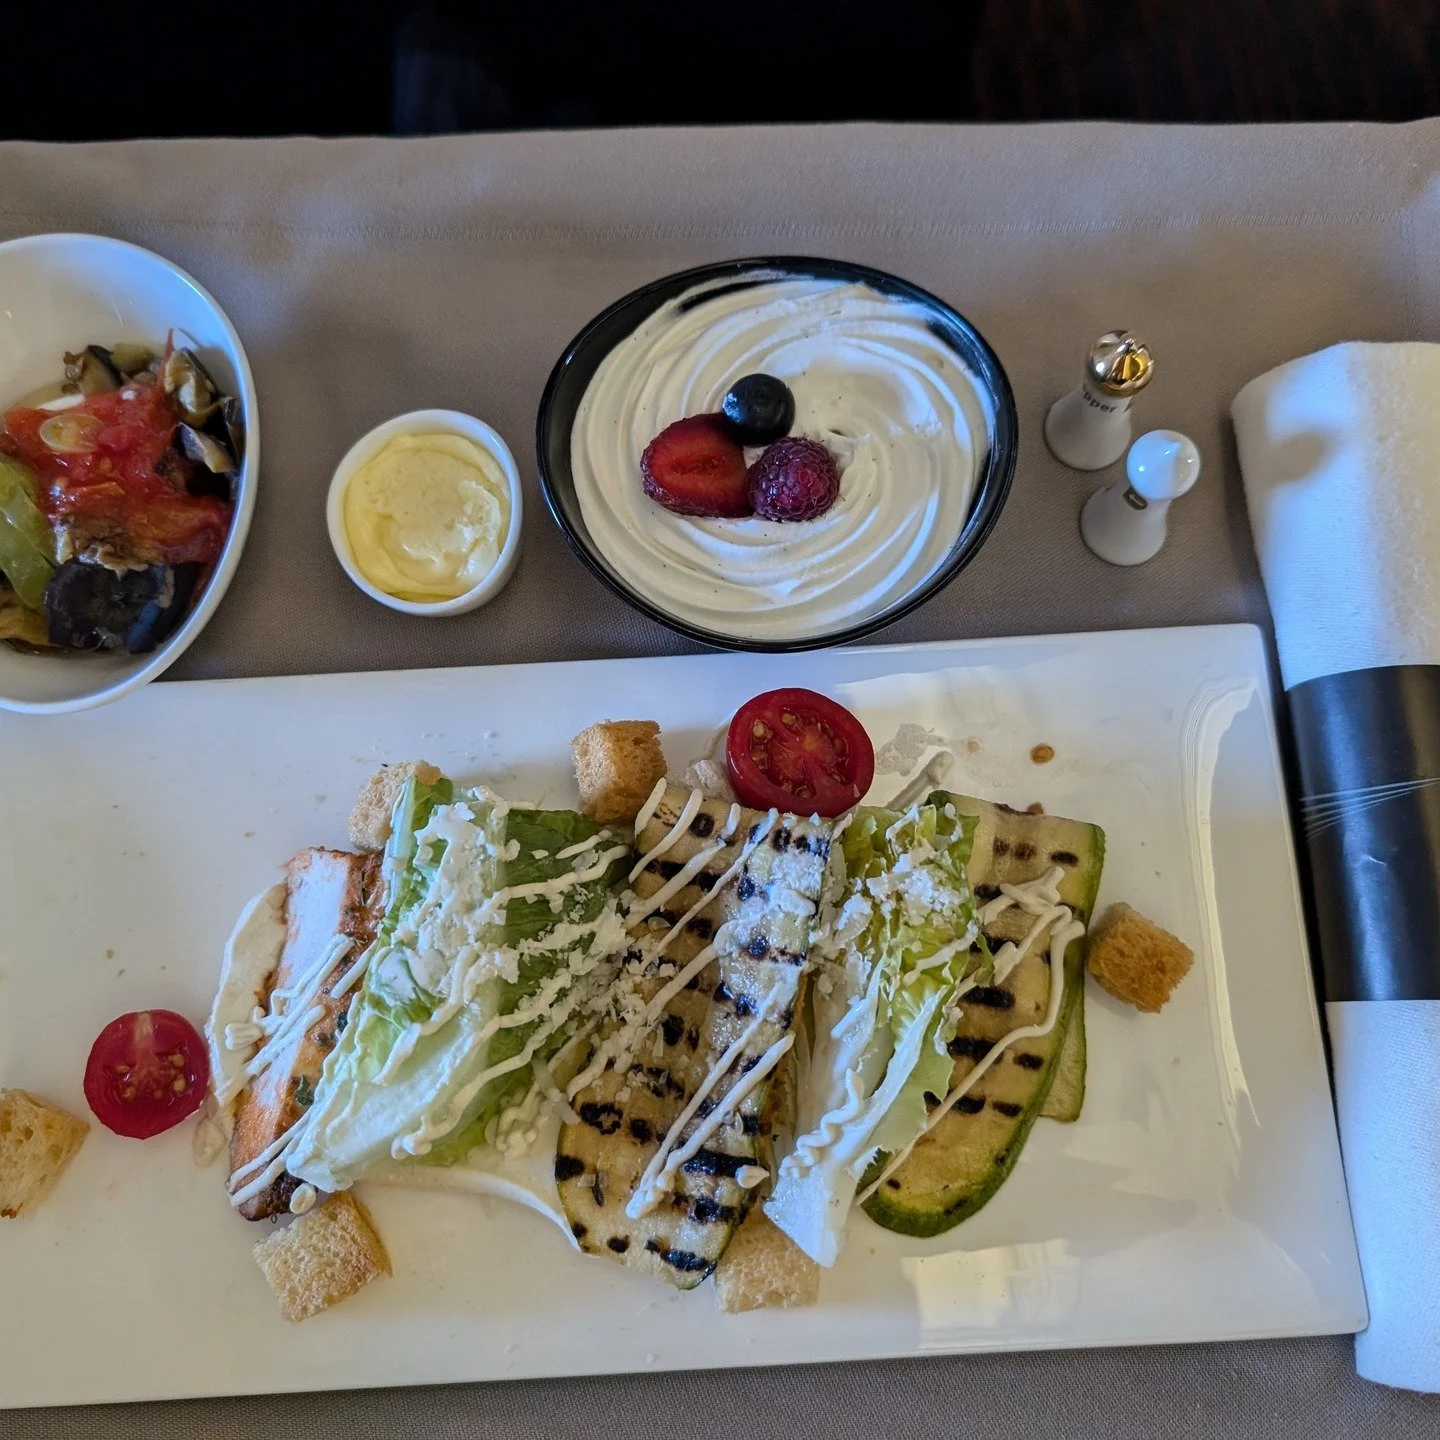
Beyond the beach, visitors can explore local markets, enjoy fresh seafood at cozy restaurants, or learn about island life at the community center. Sunset Point is a must-visit for breathtaking views, as the sky transforms into a canvas of colors each evening.

For a well-rounded experience, a stay of 2 to 3 days is ideal. This allows enough time to unwind, explore the island, and take part in water activities without feeling rushed. Ukulhas is also a great base for island hopping to nearby gems like Rasdhoo or Mathiveri.

For more on how to travel to the Maldives, visit my YouTube Channel Maldives Travel here:

 • Maldives 🇲🇻 | Travel  

 More Ukulhas Articles on this site here:

Maldives Local Island Dhigurah On A Budget

Top 3 Local Islands To Visit In Maldives

Maldives Local Island Ukulhas On A Budget

First Impressions of Montreal

First Time Visiting Montreal

We took the VIA train from Toronto to Montreal. I talked about the train journey here: . The Central Train station is located right in downtown Montreal; it felt like Toronto’s Union Station. However, it looked too old and feels like it needs a renovation.

We were hungry and McDonald’s was the only restaurant we found enticing. The menus were very similar to Toronto’s, but we felt the prices were slightly more expensive. We had no issues ordering, despite my concern that they may only speak French.

We had to go to the Courtyard Marriot, which we knew was in very close proximity. We asked someone for directions and there were no issues with English there either. Once we were out on the street and started walking, we felt right away that Montreal looked cleaner than Toronto.

The lower level of traffic was noticeable, although it was a Friday afternoon. Also, there weren’t many people on the street like Toronto. We started to like Montreal right away. It must have something to do with our vacation vibes, but we liked every aspect of Montreal compared to Toronto.

We thought we were going to have language difficulties, as we spoke no French, but we never had any issues. Everyone we interacted with spoke English and were very friendly.

We visited China Town and the Waterfront aka Old Port of Montréal, which is nestled between the downtown district and the St. Lawrence River. We liked this area a lot. It was much better and bigger compared to Toronto’s waterfront.

We especially liked the old charm feeling, like the cobblestoned streets. Montreal feels like a European city and there are many spots that can kind of reflect somewhere in Europe.

Overall, we liked Montreal a lot more than we were hoping for. We definitely won’t mind visiting Montreal many times again in the future.

VIA Rail Economy Class Trip Report: Toronto to Montreal

VIA Rail Economy Class First Impressions: Toronto to Montreal

This is my first VIA Train ride, so I have been waiting for this day for some time. We went to the Union Station in downtown Toronto a lot earlier, as we also do for our plane travels.

The boarding and efficiency of VIA Rail’s check-in process was smooth and efficient. We had assigned seats, so once aboard we settled down in our seats. This was pre-assigned – VIA Rail charges extra to change or modify seats.

I found the Economy Class seating to be spacious, clean, and equipped with ample legroom and tray tables, making it ideal for both work and relaxation. I had a peek in the business class and found nothing there to spend more money on. I was glad I chose economy.

As the train glided out of Toronto, we were treated to sweeping views of Ontario’s countryside. Rolling fields, quaint towns, and stretches of forest flashed by the window, offering a peaceful backdrop to the journey. I captured the essence of train travel in my video—unhurried, scenic, and serene.

I took a tour to the washrooms; there were 2 – one spacious for all genders and family and another a single washroom. I was shocked to see them so clean and nice; they were far better than aircraft washrooms.

We had the newer VIA Rail's Siemens Venture Train. The coach was really noise-proof; we didn’t feel like we were on a train. Due to track limitation, the speed limit was capped at below 160 km/h, but it felt like very good speed.

Unlike the VIA Rail/Amtrak train that goes to the US, the Montreal corridor trains do not have dining cars. But the train attendants came with food carts serving snacks, light meals, and drinks often. I found the prices were reasonable and not overpriced at all.

Overall, my first VIA Rail journey from Toronto to Montreal exceeded expectations. The comfort of Economy Class, the quiet ride on the new Siemens Venture train, and the scenic views made for a relaxing and enjoyable experience. With clean facilities and reasonably priced onboard service, it’s a great alternative to flying. I’d definitely recommend this route to anyone looking to travel between these two cities in comfort and style.

BIG Packing Mistake - Why You Should Not Overpack Your Carry-On

Stop Overpacking Your Carry-On and Travel Smart, Travel Light

Traveling with carry-on luggage saves time and avoids hassle. However, the most common mistakes many travelers make lead in the opposite direction if you get flagged by airport security for a secondary screening.

Physical Burden

Besides the physical burden of a heavy carry-on, such as hauling cumbersome luggage through bustling airports, public transit, or flight stairs, the other main disadvantage is that a piece of heavy luggage is more likely to get flagged at the airport for screening and even at the flight gate.

Security Screening

Bulky luggage is hard for scanning machines to inspect, thus security officials need to pull them for secondary screening. This might open the door for longer delays and missing your flights. Also, security officials might get suspicious just by looking at an oddly-shaped, chunky bag and flag you to open and manually inspect it.

Gate Check

Another drawback of carrying a bulky carry-on backpack or suitcase is the possibility of gate check. I have seen this a lot; airlines are forcing passengers to gate check when they conclude that overhead storage will not be able to handle all the carry-on luggage. However, this has never happened to me because I always travel light.

Travel Light for a Better Experience

The joy of not carrying immense weight on your back and not maneuvering through the airport with cumbersome luggage is priceless. Traveling should be an enjoyable experience and not an experience in which you worry about how you are going to make it to your destination.

Packing Tips

Here are some quick tips: 1. Plan Ahead: Make a list of essentials and stick to it. 2. Use Packing Cubes: Organize your belongings and maximize space. 3. Roll Your Clothes: Save space and reduce wrinkles. 4. Limit Shoes: Try to limit yourself to two pairs. 5. Toiletries: Opt for travel-sized items.

Conclusion

Travel smart and travel light to avoid the common pitfalls of overpacking. Your journey will be smoother and you'll have more time to enjoy your trip.

What Are The Different Types Of GMT Watches? Caller GMT vs. Traveler GMT

Caller GMT vs. Traveler GMT: Understanding the Differences

GMT watches are handy for tracking multiple time zones. Two popular types are Caller GMT and Traveler GMT. Let's break down how they work and who they're best for.

Caller GMT:

The Caller GMT watch is ideal for people who stay in one place but need to know the time in another location. It has a GMT hand that you can set to show the time in a different time zone. Meanwhile, the main hour hand stays fixed to your local time. This way, you can easily see the time in another part of the world without changing your local time. This is great for business professionals or anyone with friends or family abroad.

Traveler GMT:

The Traveler GMT watch is perfect for people who travel frequently. With this type of watch, you can adjust the main hour hand to the local time wherever you are, while the GMT hand continues to show the time in your home time zone. This makes it easy to switch between time zones without losing track of home time. It's especially useful for globetrotters and frequent flyers.

Key Differences:

The main difference between Caller GMT and Traveler GMT watches is how you adjust the hour hands. The Caller GMT keeps the local time fixed and adjusts the GMT hand for the second time zone. The Traveler GMT lets you adjust the main hour hand for local time, making it easier for frequent travelers.

In summary, choose a Caller GMT if you need to keep track of another time zone while staying in one place. Opt for a Traveler GMT if you travel often and need to adjust your local time frequently.